

Warhammer 40,000: Darktide is a party-based first-person shooter similar to Left 4 Dead and Payday. A key ingredient in these games is a roster of special enemies that challenge players in unique and exciting ways. Darktide keeps the tradition alive and well with a whopping 14 special and elite enemies.
Not to mention the many bosses there are too. Every special or elite enemy is fine-tuned to pose a dynamic threat to the players. Most are outright deadly if they catch a player in the wrong place at the wrong time. At the highest difficulties, it’s crucial that players work together to overcome these enemies quickly and effectively.
Specialist Enemies in Darktide
Specialists come in a wide variety of shapes and sizes. There are toxic dogs, well-trained snipers, bomb-tossing lunatics, and more in this lineup. Many more than gamers were able to pick out from gameplay trailers leading up to the launch of Darktide.
The following sections detail each Specialist enemy and provide tips on how to take them down. The whole list is in order of priority, from high priority targets that should be shot on sight, to less threatening targets that can be gotten around to.
Poxburster

| Poxburster | |
|---|---|
| Weapon | Explosives |
| Range | Short |
| Warning | Loud Ticking |
| Armor | Unarmored |
The Poxburster is a poxwalker strapped with toxic explosives primed to explode. It simply runs towards a player and jumps at them, exploding on contact with them or the floor. They explode into a mess of toxic sludge. Nurgle would be proud. The blast radius is surprisingly large, and it sends anyone caught in it flying. Players should make sure they don’t have their back to a ledge before popping one.
A telltale ticking begins when a Poxburster spawns, ticking faster the closer it gets to the party. Ranged players should look for Poxbursters as soon as they hear the ticking, and melee players should get to a safe place out of the line of fire.
Pox Hound

| Pox Hound | |
|---|---|
| Weapon | Pounce |
| Range | Melee |
| Warning | Classic Wolf Howl |
| Armor | Unarmored |
The Pox Hound is an agile, unpredictable attacker. It can pounce on a target from any angle, even over cover. Once pounced, the target is pinned to the ground and must be saved by a teammate. This is a classic enemy type that many party-based shooters have some form of.
Thankfully, the warning howl is very obvious, so players have time to group up. Charging the hound stuns it for a moment and blocking its pounce staggers it. Get it cornered and keep it staggered before trying to take it out in melee. Ranged players should focus Pox Hounds down when possible, but they aren’t easy to get a clear shot on.
Scab Trapper

| Scab Trapper | |
|---|---|
| Weapon | Net Gun |
| Range | Short |
| Warning | None |
| Armor | Armored, no Helmet |
When the Trapper spawns, it picks a specific target to chase down and ignores anyone else. It fires its Net Gun as soon as it’s within range of its target. The net incapacitates the target and zaps them for some damage over time until they’re saved. After firing, the Trapper stands around like a dope for a few seconds before trying again. The Trapper’s head is exposed, so a few well-placed swings or bullets will take it out. It’s surprisingly fast though, which makes it hard to chase down when it’s pursuing a target.
Mutant

| Mutant | |
|---|---|
| Weapon | Charge |
| Range | Medium |
| Warning | Guttural Yelling |
| Armor | Unarmored |
The Mutant yells out loudly when it charges at players and, if it catches them, slams them into the ground a few times. Then it tosses them a dozen meters in a random direction for good measure. This makes the Mutant especially dangerous in areas with ledges or other environmental hazards.
Melee players can go toe-to-toe with a Mutant if they can dodge its charges like a matador. Stunning or charging it creates opportunities to chip away at its impressive health pool. Ranged players should focus on getting deep behind cover before shooting. The Mutant can turn during its charge, so hiding behind a column or stack of containers won’t do.
Flamer

| Scab Flamer | Dreg Tox Flamer | |
|---|---|---|
| Weapon | Flamethrower | Toxic Flamethrower |
| Range | Medium | Medium |
| Warning | Crazed ranting about fire | Crazed ranting about fire |
| Armor | Full | Unarmored |
The Flamer can spawn as either a Scab or a Dreg. When it spawns, it begins spouting off some impressively creepy voice lines about burning everything. The Dreg version fires Tox Flames, and both types of flame stick to the ground to deny the group an area to move around in. Ranged players can easily take these out from a distance, and should prioritize them. If a melee player has a clean path to flank a Flamer though, they should take it.
Scab Bomber

| Scab Bomber | |
|---|---|
| Weapon | Explosives |
| Range | Medium |
| Warning | Thrown bombs tick |
| Armor | Armored, no Helmet |
The Bomber throws incendiary grenades with a wide area of effect. The bombs emit a noticeable ticking well before they go off. The Bomber doesn’t always aim at individual players. Sometimes, it throws grenades in the general vicinity of players, effectively cutting off an area. It doesn’t stick around to fight either. After chucking a few bombs, it runs off and hides for some time before trying again. Taking it down in melee means chasing it through corridors and getting separated. Picking it off at range is a better solution.
Scab Sniper

| Scab Sniper | |
|---|---|
| Weapon | Sniper Rifle |
| Range | Long |
| Warning | Red Laser Sight and Scope Flash |
| Armor | Unarmored |
The Scab Sniper is fairly squishy, but it can hit for incredible damage. If the player sees a long red laser tracking them, they should get into cover immediately until the Sniper picks a different target. The same laser is used by other enemies though, so get a look at what’s on the other side of it. Melee players could try to get in close before the Sniper gets off a shot, but a better choice would be to let ranged players pop its head from afar. The Sharpshooter is especially effective against snipers.
Gunner

| Scab Gunner | Dreg Gunner | ||
|---|---|---|---|
| Weapon | Lasgun | Weapon | Autogun |
| Range | Medium | Range | Medium |
| Warning | Red Laser Sight and Scope Flash | Warning | None |
| Armor | Full | Armor | Flak |
Gunners can spawn as Scabs or Dregs, the latter being more powerful. Regardless, the Gunner wields a rapid fire gun that can deal heavy damage at a fair distance. They can be lethal to players left out in the open at medium range. At higher difficulties they tend to spawn in groups of three or four at a time. If possible, the Zealot should stun them with a grenade before they spread out. Then they can rush in to finish them off.
Gunners don’t carry melee weapons, so they’re easy pickings once engaged in melee. Ranged players should engage Gunners with caution, keeping a piece of cover between them at all times. Melee players will have an easier time taking out Gunners by flanking them to avoid the wrong end of that gun.
Shotgunner

| Shotgunner | |
|---|---|
| Weapon | Shotgun |
| Range | Short |
| Warning | Scope Flash |
| Armor | Random |
The Shotgunner can spawn as a Scab or a Dreg. They’re recognizable by the three impaled skulls that stick up from their armor behind their heads. Their close range damage is, unsurprisingly, devastating. Surprisingly, however, getting in close can be the best way to take them out since they take out their sword when engaged in melee. They also tend to spawn in groups, so a grenade would be a good idea.
Elite Enemies in Darktide
Elite enemies represent the best of the best that the heretics have to throw at the Imperium of Man. They may not be much to look at, but they’re brutal. Any one of these enemies can take out a player caught unprepared, and more than one of them can spawn at a time. The following list is in order of priority, but all of these enemies should have the attention of the whole team. Make sure to tag them as soon as possible.
Rager

| Rager | |
|---|---|
| Weapon | Dual Axes |
| Range | Melee |
| Warning | None |
| Armor | Fully Armored or Unarmored |
The Rager is a ferocious fighter. It runs in and swings its axes furiously at any player in range. The armored variants require significant armor piercing to take out quickly. Chain swords and axes do well against them, but ranged players should handle these ideally. Stunning them doesn’t do much since they recover quickly, and they break through blocks with incredible speed.
Reaper

| Reaper | |
|---|---|
| Weapon | Autogun |
| Range | Long |
| Warning | None |
| Armor | Flak |
The Reaper is a formidable foe to engage at range. Its huge Autogun spews high-caliber bullets at an incredible rate. The biggest weakness of the Reaper is its lack of melee capabilities. Apart from needing to avoid point-blank shots, the Reaper is easy–albeit tiring–to take down in melee.
Bulwark

| Bulwark | |
|---|---|
| Weapon | Mace |
| Range | Melee |
| Warning | None |
| Armor | Flak + Shield |
The Bulwark is a beast to take on one-on-one, but with teamwork it’s quite simple. The Bulwark will focus on one player at a time. That player should turn it so that its back is exposed to the other players. They’ll make short work of it if they can target the ample space on the Bulwark’s back between its slabs of armor. If cornered by a Bulwark, a Zealot or Skullbasher can charge into it to stagger it and make a quick getaway.
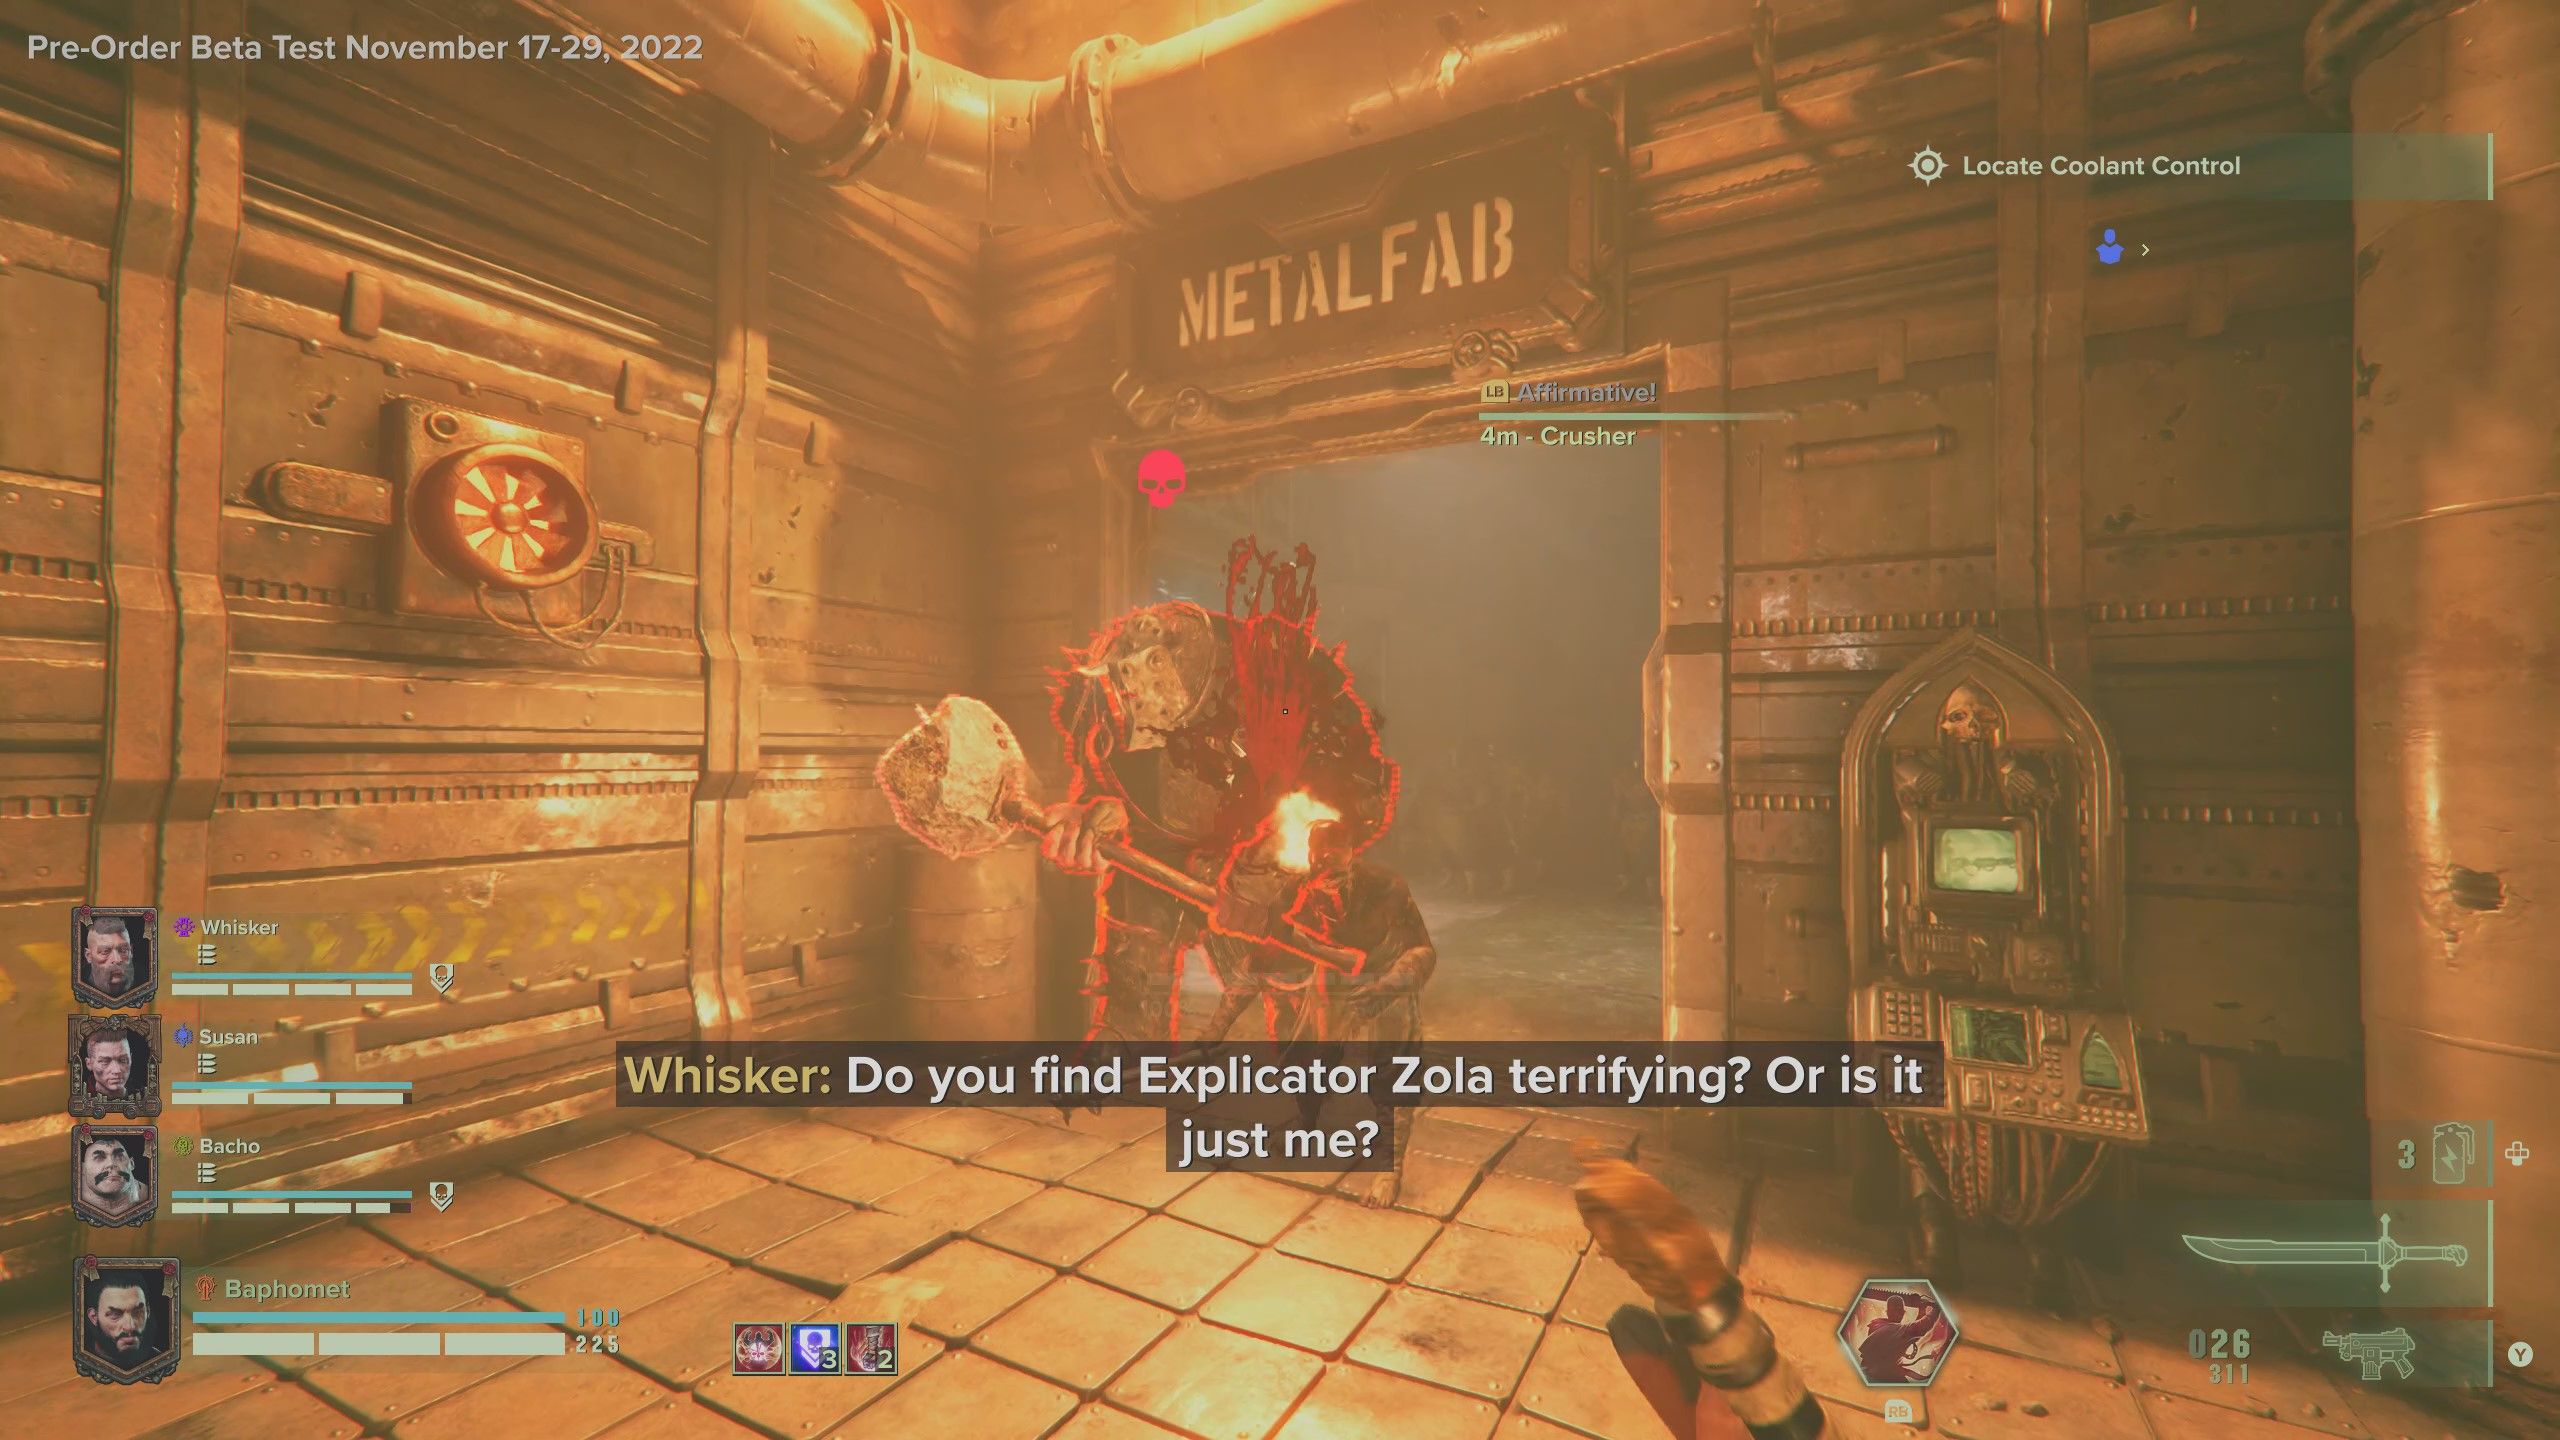
Crusher
| Crusher | |
|---|---|
| Weapon | Mace |
| Range | Melee |
| Warning | None |
| Armor | Full |
It’s not advisable to take a Crusher on in melee. Blocking doesn’t do much good and the stagger that giant maul deals is devastating. Instead, melee players should stun it with grenades or charges, and ranged players should pepper it from afar.
Mauler

| Scab Mauler | |
|---|---|
| Weapon | Chain Axe |
| Range | Melee |
| Warning | None |
| Armor | Full |
The Scab Mauler is one of few special enemies that appeared in the reveal trailer. It wields a huge chain axe and tends to spawn in pairs or trios. Its thick armor requires significant armor piercing to get through, and its attacks pack a punishing punch. Melee players engaging more than one at a time should try to get them to time their attacks together. This lets the player block them all at once and cleave through them as a group. A stun grenade would be a good idea too, as it’ll enable ranged players to line up some solid shots or place area of effect skills.
These special and elite enemies force the party to use a healthy mix of ranged and melee combat. They’re especially challenging in certain combinations. Every team will benefit from all its members knowing how to handle them and in what order. These tips are just a good place to start, but there are many ways to take these enemies down. Eventually, prioritizing and eliminating them as a team will become second nature for players. That’s when it’s time to take on the higher difficulties…
Warhammer 40,000: Darktide releases on November 30, 2022, for PC and Xbox Series X/S.