While adventuring through Remnant 2, players might stumble upon the Lament, a dungeon in the verdant world of Yaesha that's already notorious for its head-scratching puzzles. It's definitely one of the game's most interesting dungeons, and it gives off a tomb-raider vibe that serves as a nice change of pace from the rest of Remnant 2.
Updated July 18, 2024 by Marc Santos: Despite the many updates Remnant 2 has received since its official launch, The Lament dungeon and all the puzzles and traps inside it have remained untouched. All the puzzle solutions in this guide remain accurate, and players should still be able to clear this dungeon by following the information below. We did, however, include an additional section going over the unique loot players can find in this dungeon so they know when to stop looking for secrets.

Remnant 2: Best Medic Build
The Medic in Remnant 2 is more than able to solve problems on its own. Here's a build that's all about doing as much harm as possible without dying.
All Treasures In The Lament
The Lament has a fair bit of loot inside, and once players solve all the puzzles, they'll be able to get everything without anything blocking their way. Here's a summary of all the items you can get from this dungeon:
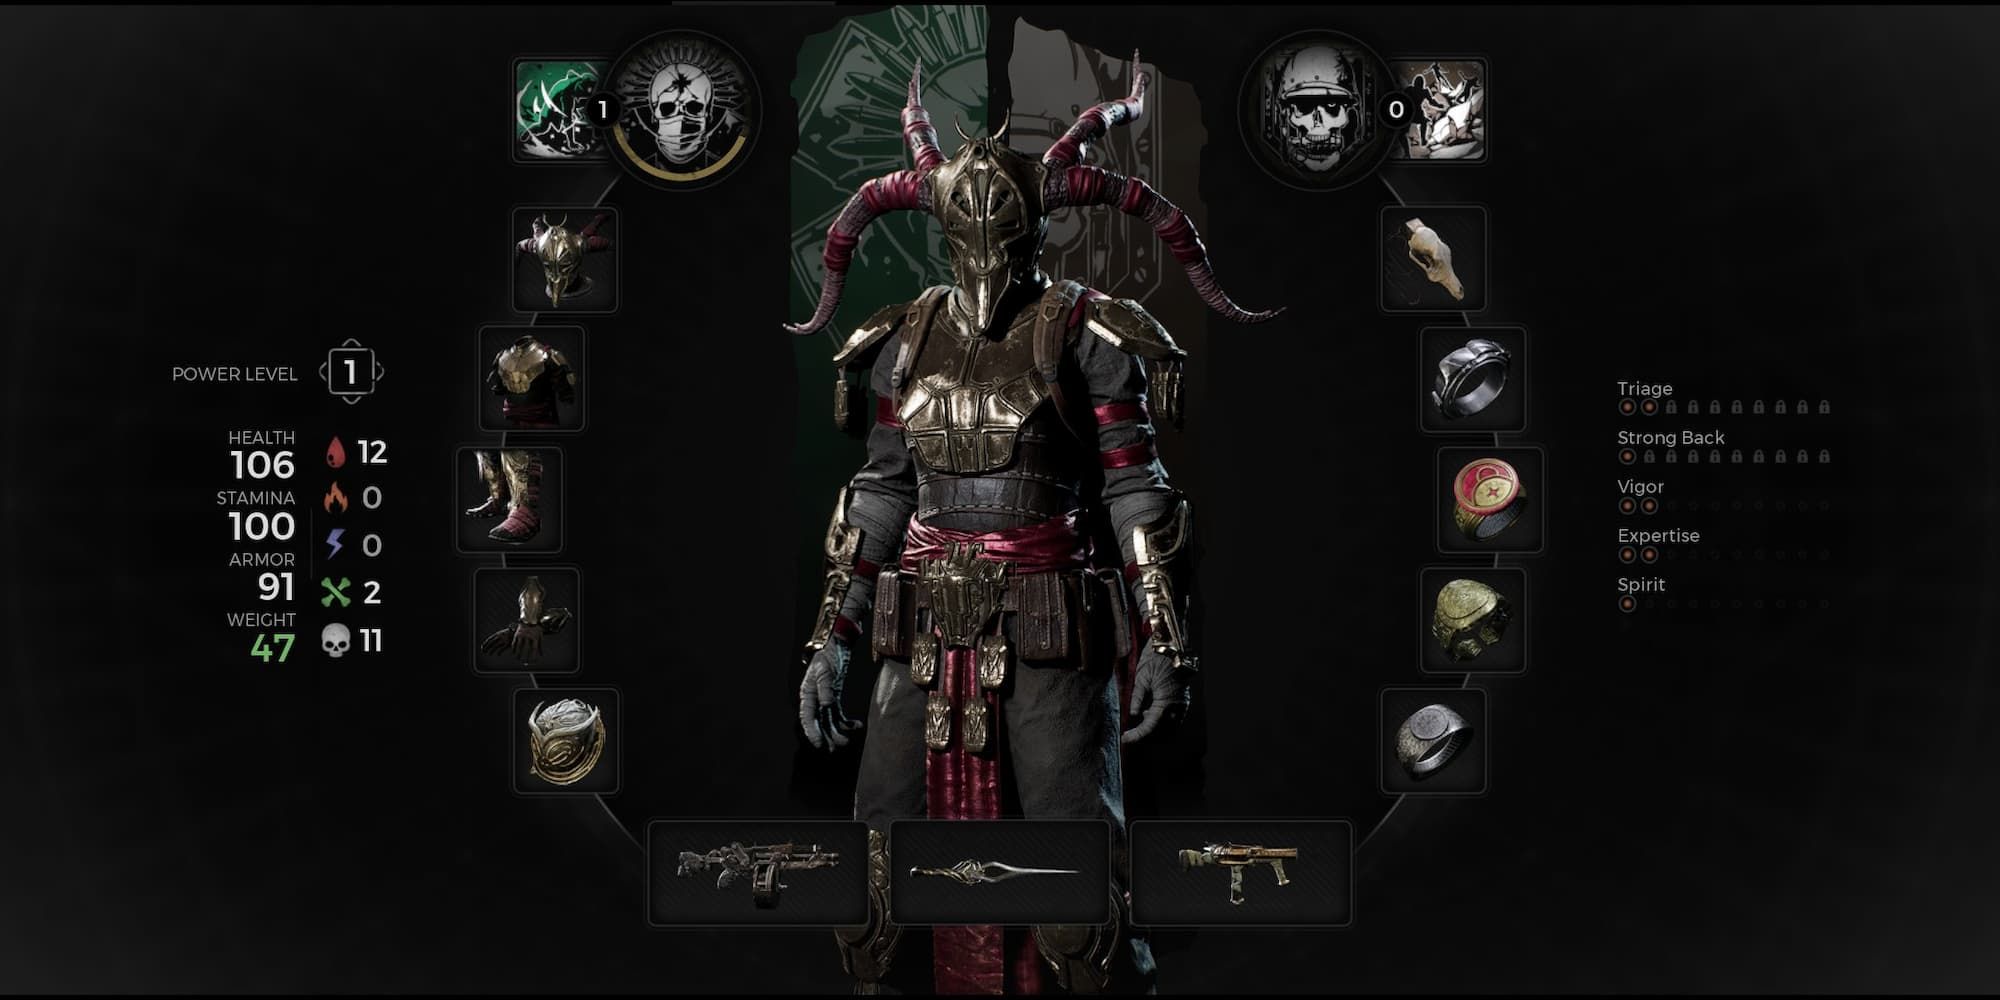
- Red Widow Set: In the coffin in the main chamber
- Blood Tinged Ring: On the balcony overlooking the main chamber
- Lodestone Crown: Behind a hidden wall in Kolket's Tomb
- Ring of Diversion: Within Kolket's Tomb
- Overdrive (Mutator): Dropped by Wither
You can leave and re-enter The Lament at any point during your current run, and all the puzzles/traps will still be solved/disarmed when you return. However, if you reroll your campaign, you'll have to do everything all over again, assuming you get The Lament to spawn in your new run.
How to Get Past the Arrow Traps

There's no secret to getting past this part of the dungeon. Players need to time their movements in order to dodge the incoming arrows. The thing about the traps is that their firing order switches once players reach the middle of each respective trap lane. Zig-zag through the lanes, but delay the direction switch when crossing the halfway point to avoid getting skewered.
Interacting with the lever at the end of the puzzle will disable all arrow traps, giving players free rein to move through this section for the rest of their Remnant 2 campaign run.
The Lament Door Puzzle Solution
First, read the book next to the corpse down the ramp on the first floor and take note of the symbol on the first page. Look for this symbol on the tapestry covering the dead Pan lying on the tables inside the room, and take note of the symbols above each of them. This changes randomly per instance; make sure to check them when entering a new Lament dungeon.
Get to the round device by the door and align the rings according to the symbols indicated by the bodies to open the door. The order in which the symbols are placed doesn't seem to matter.
Reaching the Main Chamber

Players can get to the main burial chamber via a secret passageway. From the recently-unlocked checkpoint, turn toward the collapsed pillar in one corner of the room and roll through the vases to reveal a hole leading one floor down. From here, turn right, and go down to the small pool. There's a tunnel behind one of the waterfalls — crouch through and go to the end to obtain a key to the storage room on the other side of the hall.
Open the shortcut leading back to the upstairs, then unlock the storage room. Loot the chest, and hop through the hole in the wall. This will lead players to an unassuming hall that, in true Soulslike fashion, is secretly filled with buzzsaw traps. The best way to get through this part is to follow the left vertical buzzsaw as soon as it spawns, then switch lanes once it starts to reverse. After this, it's a safe jog straight to the main chamber. Open it to get the Red Widow armor set.
Floating Platforms Section

Before heading down this part of the dungeon, make sure to have the Kolket's Razor item first. It is dropped by Wither, a miniboss that has a random chance of spawning when the player opens one of the coffins in the hall after the door puzzle. This enemy is much like other Aberrations that drop Traits in Remnant 2, except beating this one rewards you with a Mutator instead. Inspect Kolket's Razor and interact with it to turn it into Kolket's Key.
As for the platforms, players need to find invisible bridges connecting each of them. Shoot the gaps between platforms, and if the bullets stop, simply walk across. The door on the other side is locked, and it can only be opened by Kolket's Key.
How to Reach the Boat In Kolket's Tomb

The boat inside the room after the platform section is normally off-limits. However, players can phase through the illusory wall pictured above to reach this boat and claim the Lodestone Crown, a unique helmet that essentially acts like a head-mounted flashlight.
The Lodestone Crown's item description says it reacts with other lodestones. Whether or not this has any interaction with anything in Yaesha is yet to be known.

- ESRB
- M for Mature 17+ due to Blood and Gore, Partial Nudity, Strong Language, Violence
- Platform(s)
- PC, PlayStation 5, Xbox Series X, Xbox Series S
- How Long To Beat
- 20 Hours
- Genre(s)
- Soulslike, Third-Person Shooter


