

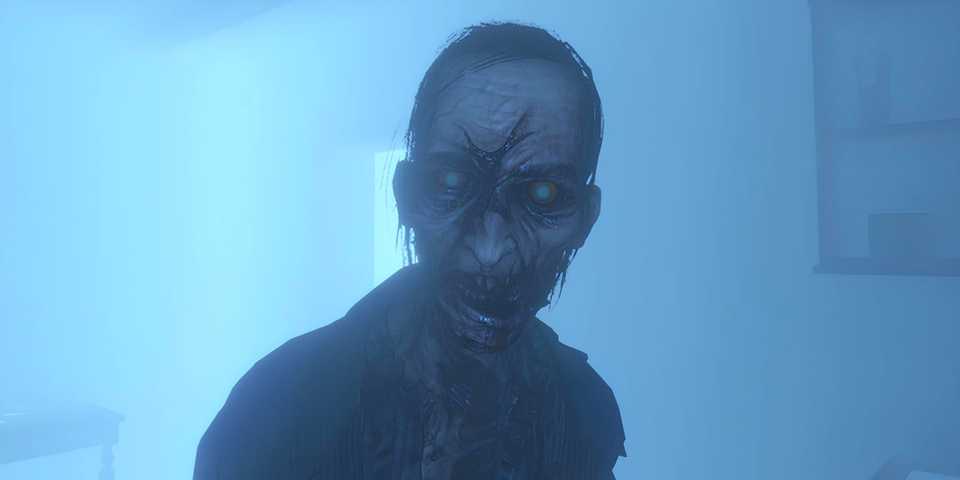
When it comes to hunting ghosts in Phasmophobia, there's no shortage of hair-raising scenarios for players to test their paranormal investigator skills. Better yet, the rewards for such challenges are often well worth seeking out the most dangerous ghosts in the game, especially those in the so-called Challenge Mode

Phasmophobia: All ID Cards (and How to Unlock Them)
This guide explains how players can unlock, customize, and use ID Cards in Phasmophobia to showcase their progress.
Challenge Mode features some of the most ambitious weekly tasks available in Phasmophobia, and one such task is the Hide and Seek: Extreme challenge. If you find yourself unsure of how to tackle this one, here's everything you need to know.
What is Challenge Mode in Phasmophobia?

Challenge Mode is a unique difficulty (and weekly task) in Phasmophobia that allows players to take on a wide variety of investigation challenges for significant rewards and achievements. Many of those challenges feature the most difficult ghost-hunting scenarios in the entire game — some even on par with the infamous Gold Apocalypse challenge.
The investigations involved in these challenges include specific equipment loadouts that cannot be altered in any way, though at the same time, they're provided to you free of charge. So should you fail during an attempt, there's no cost to you. The loadout also isn't affected by your current level and what you've personally unlocked/upgraded in terms of equipment.
To receive full rewards for the weekly Challenge Mode, you must successfully complete the challenge in question at least three times. In terms of what qualifies for completion, you simply need to guess the ghost's identity correctly. Completing optional objectives is not required but can boost your rewards.
Your progress is tracked via the main lobby board (seen above). Once done, you'll obtain a base reward of $5,000, plus any extra points earned from the investigations themselves (including bonuses from any other daily/weekly tasks). If you're looking to level and prestige your character as much as possible, these challenges are incredibly helpful for doing so.
When Does Challenge Mode Reset in Phasmophobia?

Like other weekly tasks in the game, the Challenge Mode resets at 0:00 UTC every Monday morning. The exact time obviously depends on your specific time zone, but this reset timer is the same each week. When it comes to Challenge Mode, you must complete the three required investigations for it before this server reset to obtain its respective rewards on time.
Once the server does reset its weekly timer, a new challenge will be presented on the main lobby board, and the timer at the bottom of the chart will reflect the change.

Phasmophobia: How to Complete Gotta Go Fast Challenge
The Gotta Go Fast Challenge will truly test your mettle in Phasmophobia, so come prepared.
How to Complete Hide and Seek Extreme Challenge in Phasmophobia

To queue for the Hide and Seek: Extreme Challenge in Phasmophobia, you first need to select either Singleplayer or Multiplayer from the main lobby menu. Next, go to your Difficulty Settings and scroll over until you find the Challenge Mode option. Select 'Apply' at the bottom right corner (as seen above), and your queue will be set for the challenge.
Lastly, pivot left over to the map board and look for Camp Woodwind at the very bottom right corner, next to Maple Lodge Campsite. Like other challenges, this one must be completed on the map indicated in the task description. If you choose a different map, your progress will not be counted toward challenge completion.
Hide and Seek Extreme Challenge Rules

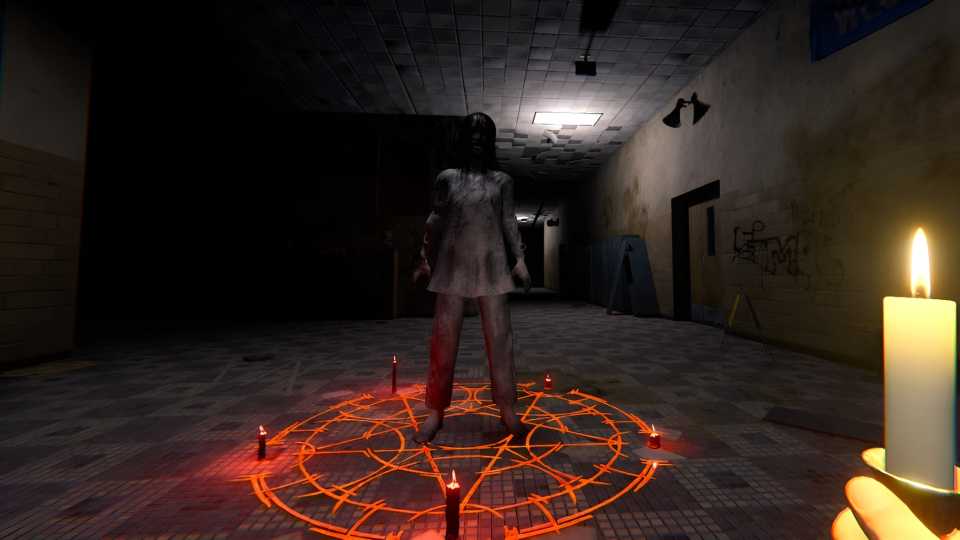
Hide and Seek: Extreme is arguably one of the most difficult weekly challenges in Phasmophobia (alongside others such as the Sanity Survival challenge) due to its strict rules that lean heavily in favor of the ghost lurking within the campsite.
Right off the bat, you'll notice that you start this investigation with 0% sanity available to you, and unfortunately, there's no sanity medication to help recover it. This means that the ghost, regardless of type, can attempt to hunt you immediately upon stepping into the campsite (once the setup time is depleted). You'll get just one minute of setup time, which allows you to track down the ghost's location and bring in as much equipment as you can before things turn dangerous.
Thankfully, the fuse box (a red generator in this case) can be used during this challenge and will be on at the start of this investigation. While it can't preserve the sanity you don't have, it can help keep the map well-lit as you gather evidence, particularly since you don't have Flashlights to help light your way.
Furthermore, the ghost will have 150% movement speed during hunts, so you'll want to tread carefully. There will be very few hiding spots to make use of, and the ghost will have a tendency to change its favorite room/area frequently during this challenge, so stay vigilant.
Lastly, the ghost will exhibit an average level of activity, so make sure to pay attention when it occurs. Especially because ghost events (e.g. Singing, lights breaking, misting) will rarely happen during this challenge.

Phasmophobia: How to Complete Sanity Survival Challenge
The Sanity Survival Challenge is one of Phasmophobia's most difficult feats, so you need to know how to prepare before going in.
Hide and Seek Extreme Loadout & Cursed Objects

The loadout you're provided for the Hide and Seek: Extreme challenge in Phasmophobia is a reasonable assortment of Tier 1 and Tier 2 equipment, and you'll want to know how to make the best of everything you have.
In all, you'll have the following items at your disposal:
- Tier 1 Head Gear - While it doesn't come with a flashlight, this head gear can still be useful, especially when playing in a group. It features a camera of its own that your party members can watch as you move around the map.
- Matches (Tier 1 Igniter) - Matches are useful in this scenario for lighting the bonfire near the campsite's entrance, or lighting Firelights.
- Tier 1 Motion Sensors - These are best used for finding the ghost's initial location (especially on smaller maps like this one) and subsequently tracking its movement, in case it changes areas.
- Tier 1 Firelight - Firelights are normally used for helping to preserve sanity, but in this case, they're better used for helping keep the map lit. Alternatively, if you think you're dealing with an Onyro ghost, you can use your Firelights to "test" for it. Beware that doing so will trigger a hunt if it is indeed an Onryo.
- Tier 1 Parabolic Microphone - This is actually one of the best tools for finding the ghost's location, as it will pick up any audible activity from it. You can also "test" for either a Banshee (will scream into the microphone) or a Deogen (will breathe heavily into the microphone).
- Tier 1 Salt - Since UV Flashlights are not available for this challenge, salt can be used for ghost photos instead, if needed.
- Tier 2 Crucifixes - These are your strongest defense against ghost hunts, as they'll prevent said hunts when placed properly in the ghost's favorite area.
- Tier 1 Sound Sensors - Similar to the Parabolic Microphone, these can be used to figure out the ghost's location by sound. If you have a party member in the van, they can listen to the ghost's movement speed during a hunt as well.
- Tier 2 EMF Readers - These are used to detect EMF readings from the ghost, up to level EMF 5 (a potential evidence option).
- Tier 2 Photo Cameras - These are used to take photos of ghosts and their activity for extra investigation points.
- Tier 2 Spirit Boxes - These are used to detect Spirit Box evidence, if applicable.
- Tier 2 Thermometers - These are used to check for Freezing Temperature evidence, if applicable. They can be useful for finding the ghost's location as well if need be.
- Tier 1 Ghost Writing Books - These are used to check for Ghost Writing evidence, if applicable. If the ghost decides to throw the book instead of writing in it, this means that it cannot be possible evidence.
- Tier 2 DOTS Projectors - These are used to check for DOTS evidence, if applicable. Certain ghosts will react differently to DOTS equipment, so pay close attention.
- Tier 1 Video Cameras (w/ tripods) - Video Cameras are useful for many things, such as detecting Ghost Orb evidence, or just a convenient way to keep an eye on the ghost's current location and its activity, especially during hunts.
The types of equipment that will not be available during this challenge include Sanity Medication, Incense, UV Lights, and Flashlights.

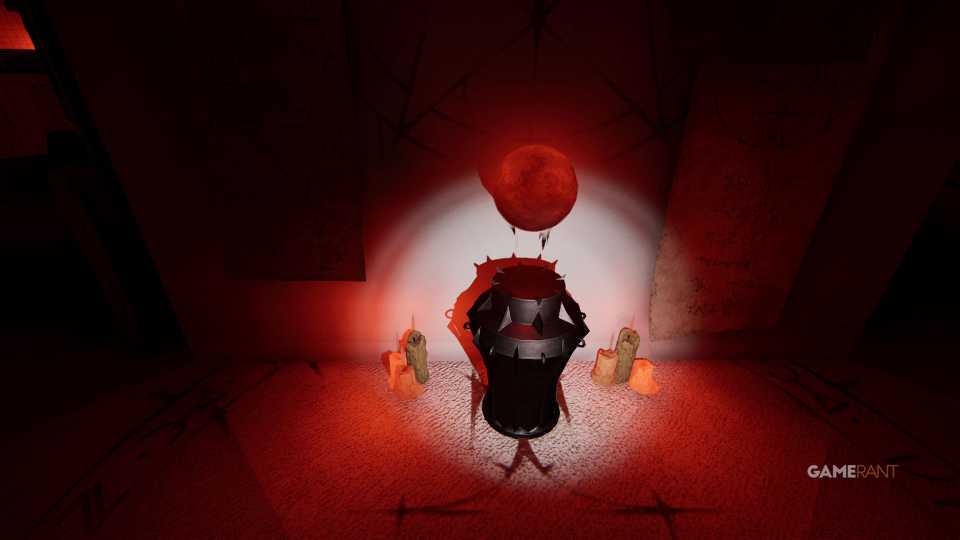
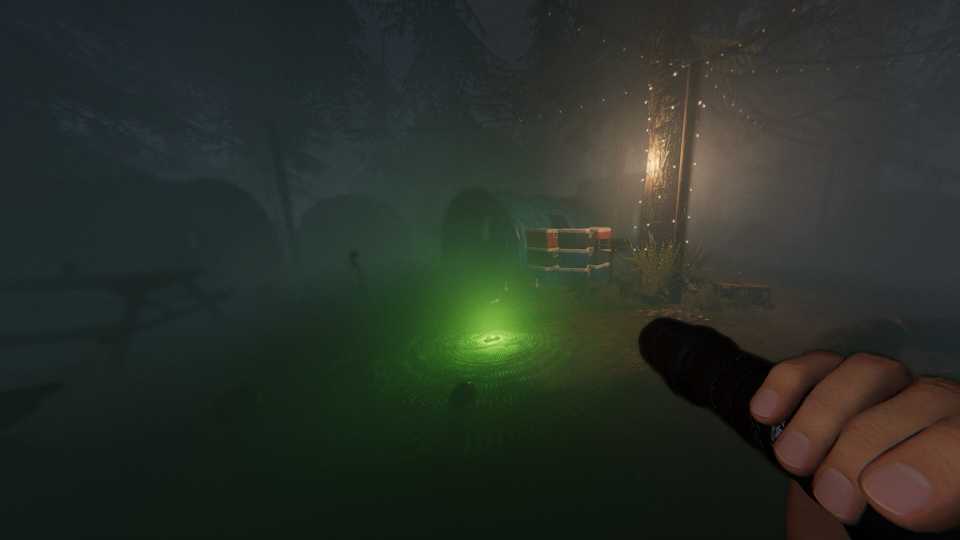
Meanwhile, there will be a Monkey Paw Cursed Object available during each attempt of this challenge. You can find it lying on the Lovers Bench at the backside of the campsite (as seen above), next to sticks full of marshmallows. You're not required to use it for completion, but if you want to, do so wisely as the Monkey Paw is one of the most dangerous Cursed Objects in the game.


-
 OpenCritic Reviews
- Top Critic Avg: 76 /100 Critics Rec: 62%
- Released
- October 29, 2024
- ESRB
- T For Teen // Blood, Use of Drugs, Violence
- Developer(s)
- Kinetic Games
- Publisher(s)
- Kinetic Games


WHERE TO PLAY


- Genre(s)
- Survival Horror, Puzzle
- Platform(s)
- PC, PlayStation 5, Xbox Series X, Xbox Series S
- OpenCritic Rating
- Strong