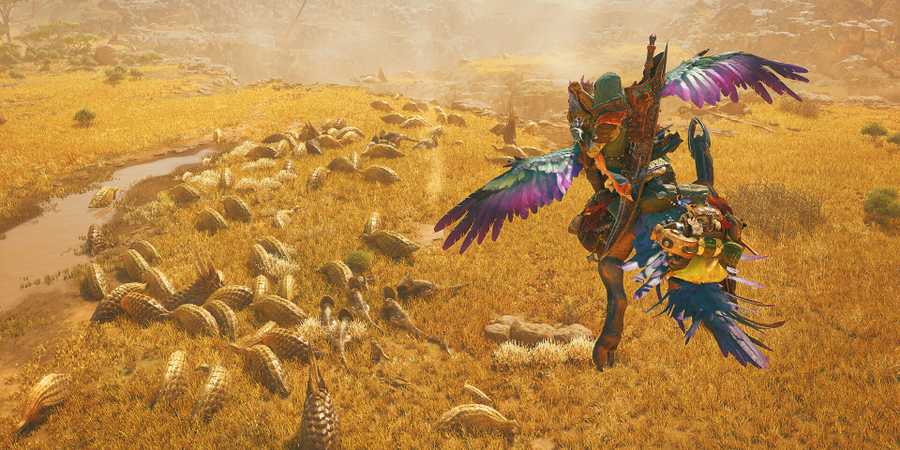
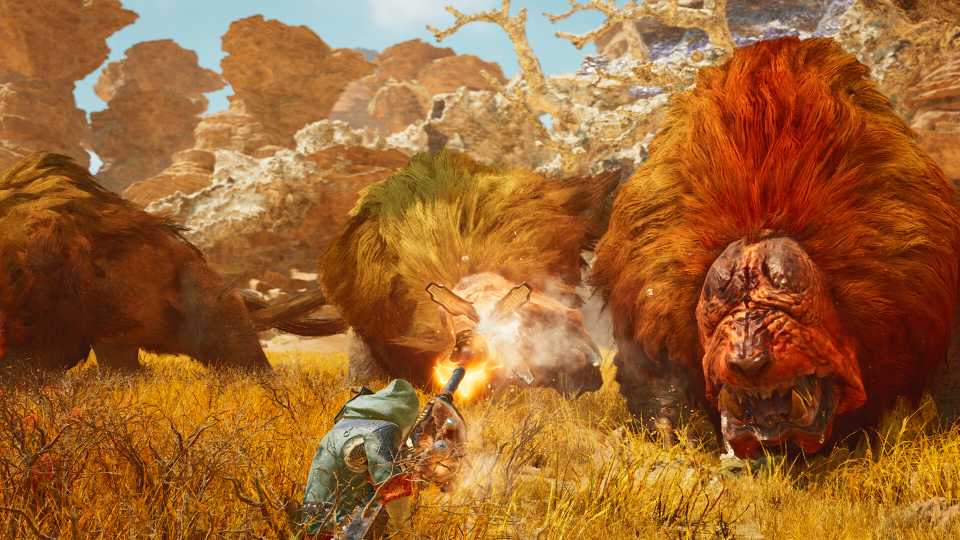
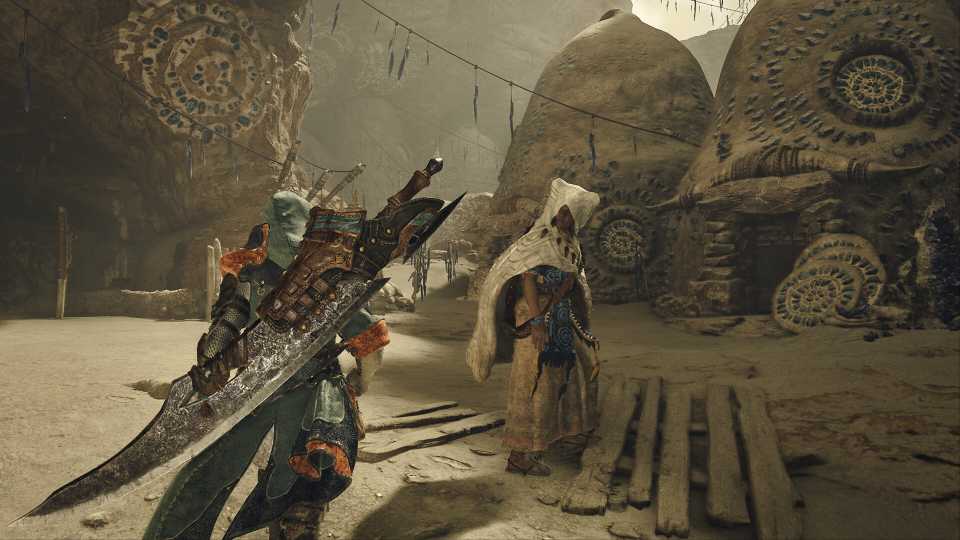
For newcomers to the series, Monster Hunter Wilds might seem clunky at first. There's no obvious way to lock on to the Large Monsters, which can cause you to miss a lot of your attacks. But before you kick the bucket in frustration and call it quits, there's a way to activate a more classic lock-on targeting system in the game.
While it may not be perfect, the lock-on system in Monster Hunter Wilds, once activated, can help make the early hours much easier. Unfortunately, the way to activate it isn't explained well, and many players might have trouble figuring out how to enable it.

The Unwritten Rules of Monster Hunter Wilds Explained
Monster Hunter Wilds may be the most accessible entry in the franchise to date, but players should still adequately prepare before they set off.
How to Lock On to Monsters in Monster Hunter Wilds

The default lock-on system in Monster Hunter Wilds doesn't work the same way as other traditional action RPGs. Instead of fixing your camera on the Monster, the game simply faces the camera towards the target without locking it. This gives you more freedom to reposition yourself in combat rather than being locked into one view. To switch to a traditional lock-on system, you'll have to change the Target Camera Control Type to Type 3. This option is hidden on the third page of the Camera Settings, accessed by from the main menu.
Use the directional buttons on your controller or A/D buttons on your keyboard to switch pages in the Camera Options.
There are five different Target Camera Control types that you can choose from:
|
Type 1 |
Pressing LB, L1, or CTRL once faces the camera towards the Monster. Pressing the button twice turns the camera towards the direction the Hunter is facing. This is activated by default. |
|---|---|
|
Type 2 |
Pressing LB, L1, or CTRL once faces the camera towards the direction the Hunter is facing. Pressing the same button twice turns the camera towards the Monster. |
|
Type 3 |
Pressing LB, L1, or CTRL locks the camera towards the Monster. This is the closest you can get to an actual "Lock On" in the game. |
|
Type 4 |
Pressing LB, L1, or CTRL locks the camera in the direction the Hunter is facing. |
|
Type 5 |
Pressing LB, L1, or CTRL doesn't aim the camera in the direction the Hunter is facing or the monster. |
If you want to play with a classic lock-on system, we recommend switching the Target Camera Control to Type 3. Although it takes away a bit of the freedom from camera movements, it'll make it easier for beginners to adjust to the combat mechanics of the game. After changing it to Type 3, press RS, R3, or RMB to switch to the target monster. After that, you can press the LB, L1, or CTRL to activate the camera lock.
It's also worth noting that activating the Focus Mode disables the Lock on. Since you'll be using the Focus Mode to deal critical blows to a Monster's wounded parts, you'll have to press the lock-on button again afterward.
Whether you use the Lock-On system in Monster Hunter Wilds is entirely up to you. It all boils down to personal preference. Since you can access a Training Area pretty early on, we recommend trying out all Targeting Camera Control Types in the game to see what feels best.


-
 OpenCritic Reviews
- Top Critic Avg: 89 /100 Critics Rec: 95%