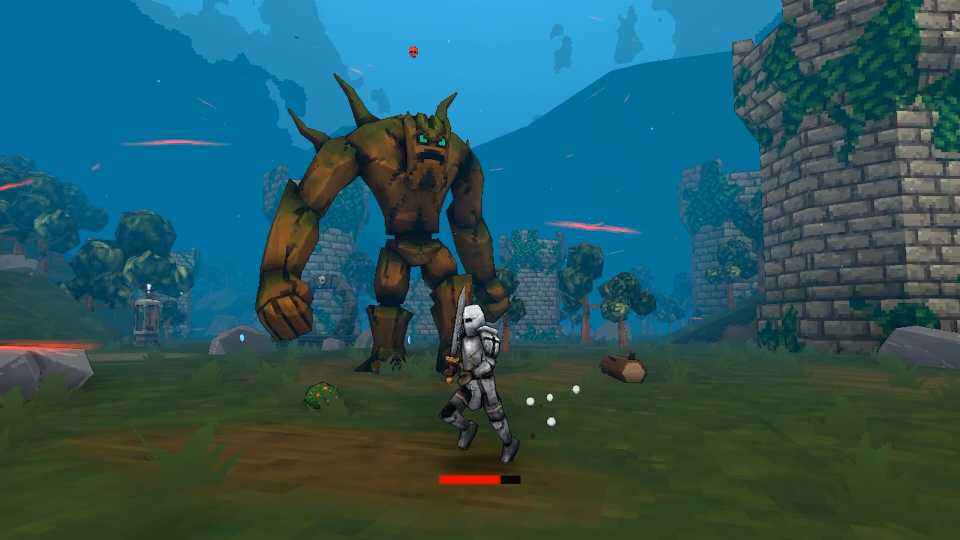
There are currently 28 weapons in Megabonk, and each one gives you a completely different playstyle. Some are absolute monsters that can carry you through any stage, while others are flashy but unreliable when things get intense. Picking the right weapon can make or break your build in Megabonk. This guide breaks down all current weapons in Megabonk, ranking them from best to least impressive ones, so you know exactly where to invest your resources.

Megabonk: How to Unlock All Items
Here’s a complete list of all the items in Megabonk, so you can unlock the ones that fit your build best.
S-Tier Weapons

These are the absolute best weapons in Megabonk, capable of clearing waves, melting bosses, and carrying full runs with minimal setup.
|
Weapon |
Description |
|---|---|
|
Dexecutioner |
The Dexecutioner is a powerful multi-hit monster that can melt waves of enemies within seconds. Its built-in execute function finishes off damaged targets instantly. The piercing effect and high attack rate make it perfect for all stages. |
|
Axe |
The Axe’s wide, overlapping swings hit hard and constantly trigger executes, keeping enemies from getting close. It’s perfect for players who want relentless melee dominance and is one of the most reliable S-tier picks for any player who wants to dominate every level. |
|
Flamewalker |
If you love watching the world burn, Flamewalker is your dream weapon. Every swing ignites the battlefield, leaving waves of fire that melt everything in sight. When paired with cooldown reduction and attack speed buffs, it turns into a moving inferno that eliminates even elite bosses. |
|
Shotgun |
The Shotgun scales surprisingly well into the late game. Its tight spread makes it effective at close range. In the hands of a skilled player, it can compete with the Dexecutioner for sheer speed and kill potential. |
|
Black Hole |
The Black Hole is a powerful late-game weapon. It pulls enemies inward, crushing them with continuous damage before imploding for massive burst damage. It’s a bit slow to ramp up early, but once fully built, it’s an unstoppable crowd-control machine. |
A-Tier Weapons

These weapons might not break the game like S-tier options, but they’re extremely solid picks that can handle nearly every situation.
|
Weapon |
Description |
|---|---|
|
Blood Magic |
Blood Magic converts your health into devastating area damage. Early on, it feels slow, but once it gains momentum, it becomes a life-stealing engine that thrives in long, high-damage runs. |
|
Bow |
The Bow is not the flashiest weapon, but it’s one of the most reliable ones. It fires piercing arrows that can wipe out multiple enemies in one shot, making it fantastic for both crowd control and boss fights. |
|
Katana |
Katana is perfect for fast-paced combat and players who want to play aggressively. Its slashing attacks hit quickly and cover a decent range, making it great for both single targets and small groups. It’s slightly fragile compared to heavy hitters, but its speed more than compensates. |
|
Lightning Staff |
Lightning Staff calls down bursts of energy that strike multiple enemies at once. It scales impressively with attack speed and damage tomes, quickly turning into a storm of destruction. Its auto-targeting is also a big plus for players who prefer less aiming. |
|
Firestaff |
Firestaff specializes in splash damage and burning effects. Each projectile explodes on impact, damaging groups of enemies while applying a fiery DoT. It’s not as consistent as Lightning Staff, but it’s still an excellent choice. |
B-Tier Weapons

These weapons aren’t bad, but they just lack the overwhelming synergy or scaling that the higher tiers bring. They’re fun to experiment with and are great for casual runs in Megabonk.
|
Weapon |
Description |
|---|---|
|
Bone |
Bone is a solid, all-around melee weapon with a wide arc that lets you hit multiple targets easily. It doesn’t scale as explosively as others, but it’s a great beginner weapon with consistent damage output. |
|
Frostwalker |
Frostwalker is all about control. It may not top the charts in raw damage, but its freezing effect is invaluable when chaos breaks loose. Being able to immobilize enemies mid-wave gives you the breathing room needed to recover or reposition in clutch moments. |
|
Bananrang |
Bananarang is a fun, mid-range weapon that bounces between enemies. It deals solid damage in dense waves, but its slow attack speed and travel time can feel underwhelming against faster enemies. |
|
Aura |
Aura passively damages nearby enemies without any aiming required. It’s amazing early on, especially for beginners, but tends to fall off later when enemies’ health skyrockets. Still, it makes a great support weapon. |
|
Dice |
The Dice is the gambler’s choice. Every roll can result in either massive hits or pitiful scratches, depending on luck. It’s unpredictable but satisfying when luck is on your side. |
|
Aegis |
Aegis is a supportive weapon that excels at providing a defensive layer, making it useful for surviving longer runs. It’s not a raw damage dealer, but can be a lifesaver during hectic moments. A good option for defensive or tanky builds. |
|
Hero Sword |
Hero Sword delivers steady melee damage and feels responsive, but it struggles with range and crowd control compared to top-tier melee weapons. It’s well-balanced and a great choice for newbies. |
|
Wireless Daggers |
Wireless daggers automatically seek out nearby targets, providing excellent early-game control. However, their damage doesn’t keep up in later stages. They’re best used as a support weapon to chip away at smaller enemies. |
|
Revolver |
Revolver is a precision-based ranged weapon that rewards accurate aiming and timing. It hits hard per shot but suffers from low fire rate and limited crowd-clearing potential. |
|
Sniper Rifle |
The Sniper Rifle is a powerful weapon that you can aim manually. Its piercing shots deal massive crit damage and can wipe out enemies in seconds. However, it can be risky to use in crowded waves. |
C-Tier Weapons

These weapons aren’t entirely useless; they just fall short when it comes to raw power, speed, or consistency. Most of them have cool gimmicks or niche uses, but they struggle to keep up once you hit the harder waves or tougher bosses.
|
Weapon |
Description |
|---|---|
|
Tornado |
Tornado generates swirling gusts that send enemies flying in every direction. While the crowd control is impressive, the actual damage is painfully low. The knockback can also disrupt your attack rhythm and scatter enemies before you can finish them off. It works better as a defensive tool than an offensive one. |
|
Poison Flask |
Poison Flask fills the battlefield with green, toxic clouds that slowly chip away at enemy health. It’s decent for managing clustered groups or slowing down advancing hordes, but it completely falls apart against fast-moving enemies and bosses with big health pools. |
|
Slutty Rocket |
Slutty Rocket fires slow, semi-tracking projectiles that look spectacular but rarely land where you want them to. The rockets often detonate too early or miss entirely, leading to frustratingly inconsistent DPS. |
|
Dragon’s Breath |
Dragon’s Breath sounds fierce but feels underwhelming in practice. It spews a short-range cone of fire that looks cool but deals mediocre damage. The limited range forces you to stay dangerously close to enemies. |
|
Mines |
Mines deploy stationary explosives that detonate when enemies step on them. The concept is solid, but the execution is underwhelming as they can often miss their mark. |
|
Sword |
The basic Sword does what you’d expect: it swings, it hits, and that’s about it. There’s no fancy mechanic, no area control, and no scaling potential. |
|
Corrupted Sword |
Corrupted Sword is a risky weapon that demands low health to reach its true power. It fires backward, adding an awkward learning curve. |
|
Space Noodle |
Space Noodle may look hilarious, but it’s one of the weakest weapons in terms of raw output. Its short reach and poor scaling make it more of a meme pick than a serious choice. |
|
Chunkers |
Chunkers hurl massive, slow-moving projectiles that hit hard but take too long to connect. Their sluggish pace makes them unreliable for clearing fast waves of enemies. |


-
 OpenCritic Reviews
- Critics Rec: 100%
- Released
- September 18, 2025
- Developer(s)
- vedinad
- Publisher(s)
- vedinad