

While finding and taking down the Paintress is the given objective in Clair Obscur: Expedition 33, traversing every nook and cranny of the Continent is actually the true adventure. There are countless different locations you can explore that you'd otherwise miss during the main story, with plenty of treasure to boot.
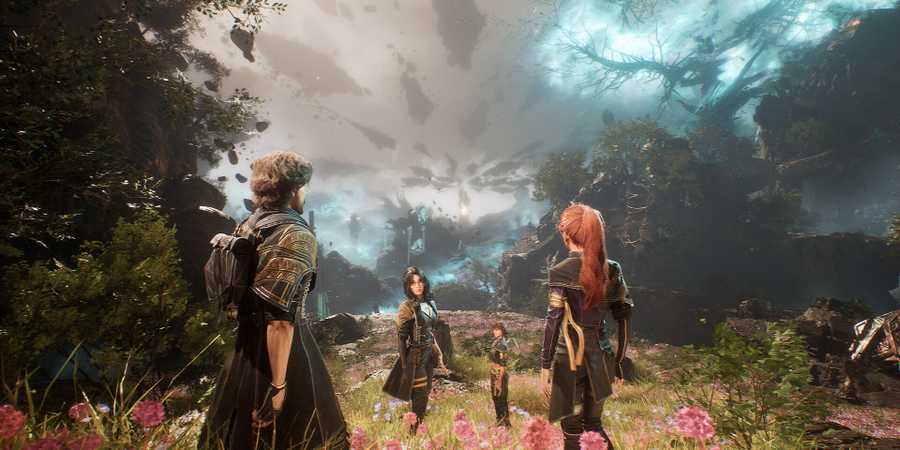
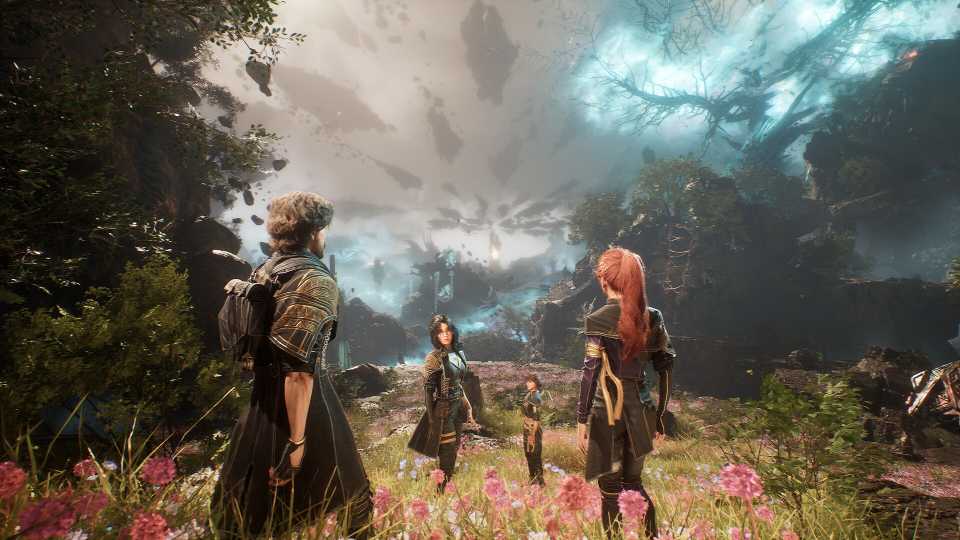
One such location in Clair Obscur: Expedition 33 that you definitely don't want to miss is the Endless Night Sanctuary. Here's a complete rundown on what you can find in this maze-like area full of Sakapatates and other mysteries.

All Pictos in Clair Obscur Expedition 33 (& Where to Find Them)
There are dozens upon dozens of Pictos to equip and turn into Lumina in Clair Obscur Expedition 33 --here's our list of all of them so far.
Where to Find Endless Night Sanctuary in Clair Obscur: Expedition 33

The Endless Night Sanctuary is an optional location in Clair Obscur: Expedition 33 that's found on the far east side of the Continent. It's nestled inside a bright red forest (that's actually made of inactive gestrals) directly south of the isle where the Sinister Cave is. It's also southeast of Sirene island, for further reference.
Because of its landlocked location surrounded by mountains that can't be traversed on foot, the Endless Night Sanctuary can't be accessed until you've unlocked Esquie's flying ability, which is at the very start of Act 3 in the main story.
Once you have that ability, soar over to the entrance to Endless Night Sanctuary (be mindful of the nearby random encounter) and head inside.
How to Complete Endless Night Sanctuary in Clair Obscur Expedition 33

As this area can't be accessed until the final act of the game, it's important to note the overall difficulty of the enemies lurking here before pressing forward. The various Sakapatate enemies found here, while very similar in behavior to the ones in places like Ancient Sanctuary earlier in the story, are far beefier, and their attacks will hit for significantly more damage. As such, you'll want to make sure that you've gotten a good grasp on dodging and parrying by this point, and using your strongest party members is a priority.
Once you're ready, feel free to go tag the nearby Expedition Flag to ensure your party is topped off. The Endless Night Sanctuary is somewhat maze-like in its design, so make sure to keep track of the routes you take throughout.

For now, follow the path straight ahead (there's nothing to be found in the nook behind the Expedition Flag) and make note of the glowing items on top of two ledges as you pass by. Go through the narrow, winding passage until you come to an area where you can take a ramp down and encounter your first enemy. Always go for First Strikes when possible. Pick up all of the Chroma nearby as well.

Continue on, and in the next area, you'll see a Grandis Engineer standing nearby. Feel free to talk to them for some lore about the area. They'll also serve as a visual anchor to help you keep track of where you go from here, as there are a number of paths to explore.
You'll notice there are three visible paths from this point. Ignore the left path entirely, as it only serves to shortcut you toward the exit of the sanctuary, and the middle path will help you cover everything missable around it.

All Merchant Locations In Clair Obscur Expedition 33
Merchants serve as some of the best sources of items in Clair Obscur: Expedition 33, so here is where to find them all.
Right Path From Grandis Engineer
This is the shortest path of the bunch, so get it out of the way first. Take the far right path from the Grandis Engineer, deal with the Sakapatate encounter ahead, and then collect the  Colour of Lumina at the far end of the path.
Middle Path From Grandis Engineer
With proper navigation, this path will lead you to every other area in the sanctuary and also give you access to the exit when you're ready.
Head down this path next (the one directly behind the Grandis Engineer), and you'll come to yet another fork in the road. Start by going right and stop at the large rocky outcrop sticking out on the left side. Look directly below it to see an item on the ground in a small crawlspace. Pick it up to claim the  Gradient Break Pictos (very useful for building Gradient charge).
Now, backtrack to the fork, and this time, take the path ahead, under the rocky crawlspace to the next area. There's yet another fork here, so make sure to keep track of your progress. First go left and deal with the Sakapatate encounter ahead. Once done, keep going until you reach a dead end and check the rocky nook on the right side for a  Grandiose Chroma Catalyst.
Now go check the left side of the dead end to see yet another crawlspace (seen above). You can crouch walk through it to continue forward. Pick up the Colour of Lumina sitting in a nook on the right side of the path. Then, deal with the Sakapatate encounter ahead.
Once you defeat them, immediately backtrack the way you came; the way ahead simply brings you back to the Grandis Engineer. Once back at the fork, go right and follow the pathway until you see a smaller path to your left with an Expedition Flag. If you feel you need to, use the Flag to rest and make any upgrades you need.

Otherwise, you actually might want to avoid resting, as doing so respawns all enemies in the entire location. Not only can this keep you from getting overwhelmed, but it will also further help track your progress through the sanctuary via the areas that no longer have enemies, diminishing your chances of getting turned around or lost.
Make your choice, then deal with the Ranger Sakapatate encounter ahead (seen above) and claim the Chroma on the ground at the dead end behind it, or you can immediately continue down the path with the Flag, which will take you directly to the first of two bosses in the sanctuary - the Ultimate Sakapatate.
How to Beat Ultimate Sakapatate

This version of the Ultimate Sakapatate functions much the same as the one you fought previously in the Ancient Sanctuary. Its attacks are all the same, with the only difference being its beefier stats. It'll be flanked by two other Sakapatate enemies, so you'll want to get them out of the way first.
Exploit the weak points on their bodies with Free Aim shots if possible, and prioritize using fire elemental attacks and weapons. Stacks of Burn can quickly melt down their health alongside your regular attacks.
Once defeated, you'll be rewarded with the  Joyaro weapon for Monoco and 4x Grandiose Chroma Catalysts (one will be 1x
  Perfect Chroma Catalyst if on NG+).

The Reacher 100% Guide (All Collectibles, Weapons & Pictos) In Clair Obscur Expedition 33
Here are all the collectibles available at The Reacher in Clair Obscur: Expedition 33, where Maelle's relationship quest is.
Petank Location
From here, you have yet another forked path to consider. For now, go left, where you'll see the exit to the Endless Night Sanctuary. Ignore it. Instead, look for the crawlspace left of that and go through it.

This brings you to a higher level you ran past earlier, and now's your chance to collect the goodies you couldn't access before. Find some Chroma across a small bridge to your left, then go straight ahead to find a Petank (seen above). Usher it toward its purple platform straight ahead while picking up more items in the area along the way, including more Chroma and a Grandiose Chroma Catalyst.
Engage the Petank in a battle if you wish. Just be aware that it will flee after 3 full turns, so prepare accordingly. Upon defeating it, you'll earn 5x Grandiose Chroma Catalyst, 1x  Recoat, and 5x Colour of Lumina.
Continue ahead until you find one more Grandiose Chroma Catalyst sitting at the end of a ledge overlooking the entrance to the sanctuary.

Now, backtrack to where you fought the Ultimate Sakapatate. This time, however, go right. Crouch through the very narrow tunnel until it brings you to the next area with an exceptionally tall gestral statue (seen above). Rest at the nearby Expedition Flag if needed, then run into the open area ahead. Then, collect the Grandiose Chroma Catalyst hidden behind the stone rubble on the ground.
Paint Cage

Above the nearby Expedition Flag on a ledge is a Paint Cage, and you'll need to find and destroy its three keys to get into it. Start by shooting the key found on the trunk of the giant statue. Next, climb up the ledge near the paint cage (as seen above) and destroy the pile of barrels and boxes straight ahead to find the second key. From that ledge, look straight across the area to see the last key in one of the trees (seen below) and shoot it.

Claim your reward from the Paint Cage, which is yet another Grandiose Chroma Catalyst. Now, jump back down to the main area and head through the narrow path to the right of the giant statue. At the end of it, you will find the other main boss of the sanctuary - the Chromatic Cruler.
How to Beat Chromatic Cruler

Like other Chromatic enemies in the game, this is a beefed-up variant of the regular Cruler nevron. Its familiar attacks will feature longer combos that are also more punishing, so dodging and/or parrying is essential. Use your best party members to build its Break gauge and shatter it to lower the Cruler's defense stat, leaving it vulnerable to most attacks.
Upon defeating the Chromatic Cruler, you'll receive the  Cruleram weapon, the
  Quick Break Pictos, along with 2x Grandiose Chroma Catalyst and 5x Colour of Lumina.
Continue down the same path until you find another Colour of Lumina lying on the ground near some broken boxes.
Gestral Merchant (Anthonypo)

Climb up the ledge ahead, and it'll bring you to another open area, where the rather tall Gestral Merchant Anthonypo will be standing on the right side. Select 'Trade' to see his inventory, which includes the following:
-
'
 Critical Burn
' Pictos (must fight and defeat merchant)
Critical Burn
' Pictos (must fight and defeat merchant)
-
'
 Marking Break
' Pictos (must fight and defeat merchant)
Marking Break
' Pictos (must fight and defeat merchant)
-
'
Shell On Rush
' Pictos (must fight and defeat merchant)
-
'
 Guleson
' weapon for Sciel (must fight and defeat merchant)
Guleson
' weapon for Sciel (must fight and defeat merchant)
-
'
 Powerful Heal
' Pictos
Powerful Heal
' Pictos
-
'
 Powerful Shield
' Pictos
Powerful Shield
' Pictos
-
'
 Protecting Attack
' Pictos
Protecting Attack
' Pictos
-
'
Charging Mark
' Pictos
-
'
Accelerating Tint
' Pictos
-
'
 Versatile
' Pictos
Versatile
' Pictos
- 'Civilian' outfit for Monoco
- Chroma Cataylst
-
 Polished Chroma Catalyst
-
 Resplendent Chroma Catalyst
-
Grandiose Chroma Catalyst
Once you're done shopping, exit the area on the left side by taking the rope down to the next area. Grab the Chroma next to the dead Expeditioner.
This concludes what can be found and collected in the Endless Night Sanctuary. Depending on your level, this location can still serve as a practical way to grind hefty sums of XP as well.


-
 OpenCritic Reviews
- Top Critic Avg: 92 /100 Critics Rec: 97%
- Released
- April 24, 2025
- ESRB
- Mature 17+ / Blood and Gore, Strong Language, Suggestive Themes, Violence
- Developer(s)
- Sandfall Interactive
- Publisher(s)
- Kepler Interactive


WHERE TO PLAY


- Engine
- Unreal Engine 5
- Genre(s)
- Turn-Based RPG, JRPG, Fantasy